
WORDPRESS - Visidea Installation Guide
Video Tutorial
Plug-in Installation Guide
With this guide we will see together all the steps for a correct installation of the visidea plugin on your e-commerce with Cms WordPress-Woocommerce.
- Use the plugin manager in your WordPress administration platform, search for Visidea plugin, and install it.
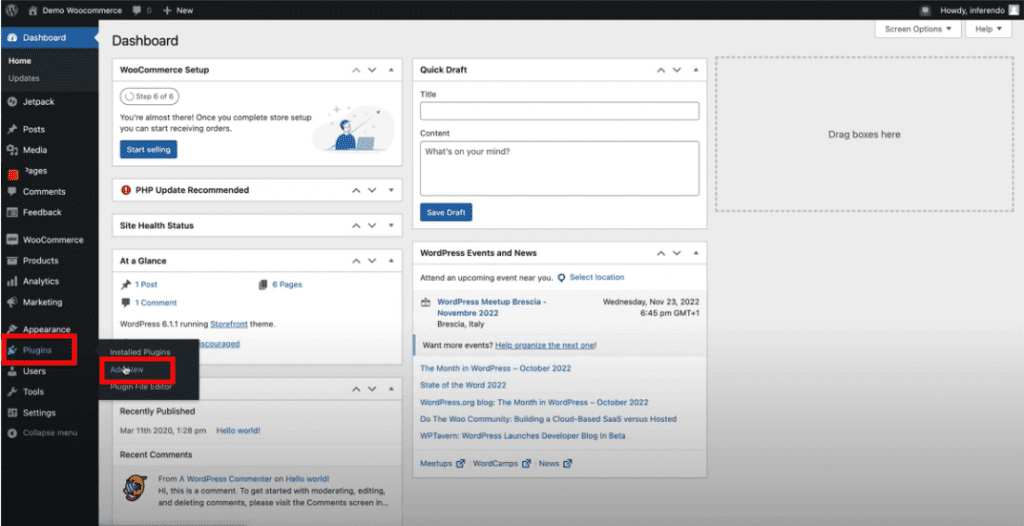
- Click on “Plugins” , and on “Add new”
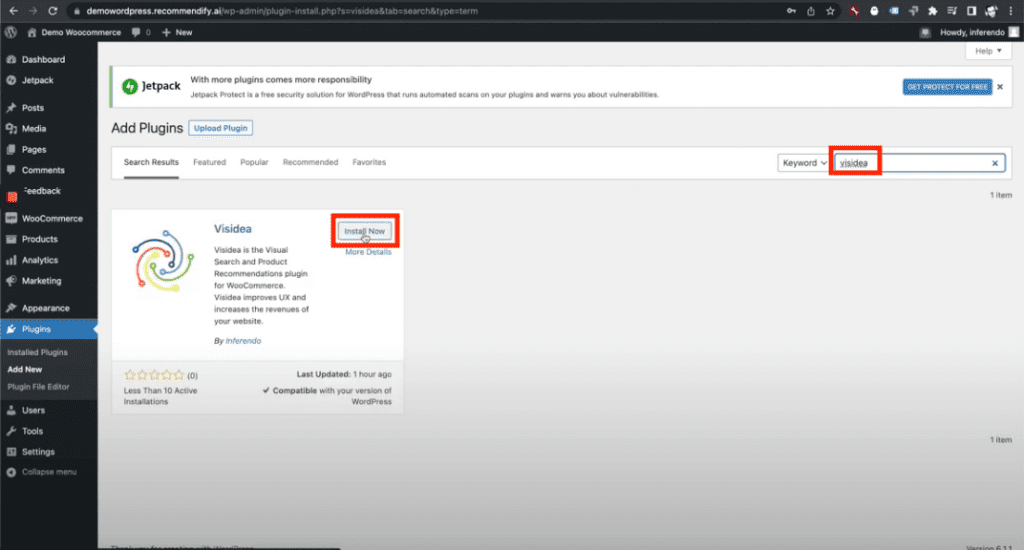
3. Search for “Visidea” and “INSTALL NOW”
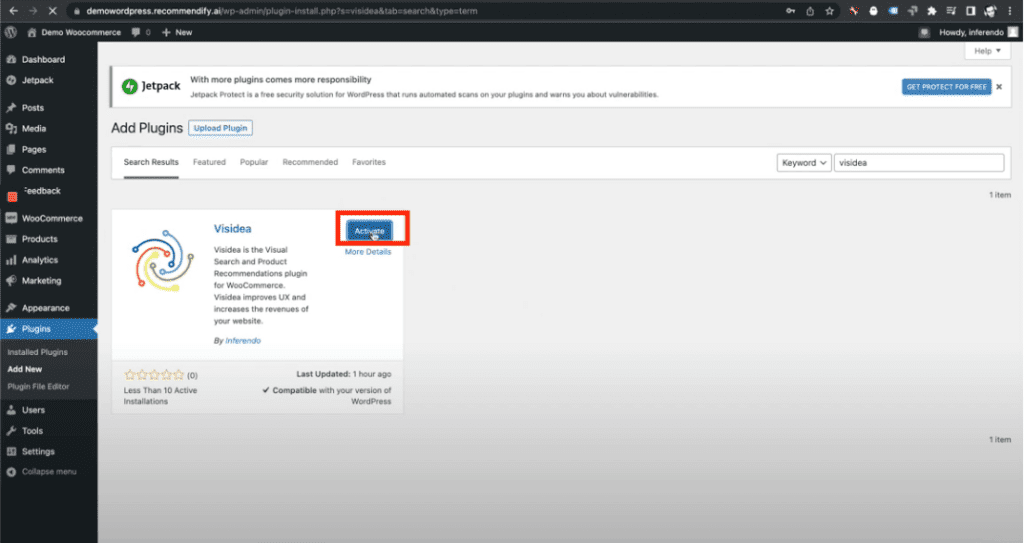
4. “ACTIVE”
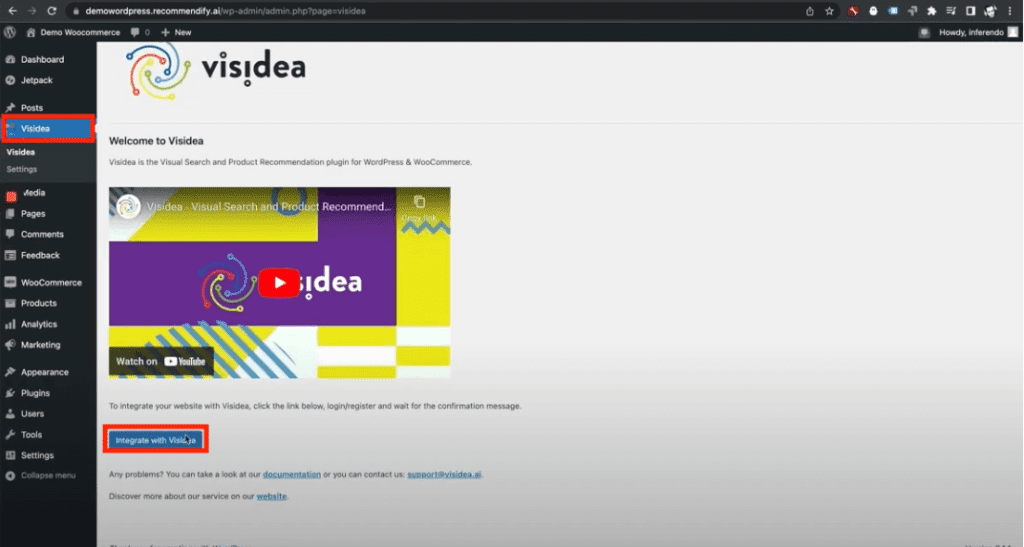
5. Click “VISIDEA” on the left of the menù
6. and click “INTEGRATE WITH VISIDEA”
7. Now you can register/create an account

8. After registration, you will be redirected to the configuration of your website
9. Choose the category of your products and click “CONNECT”
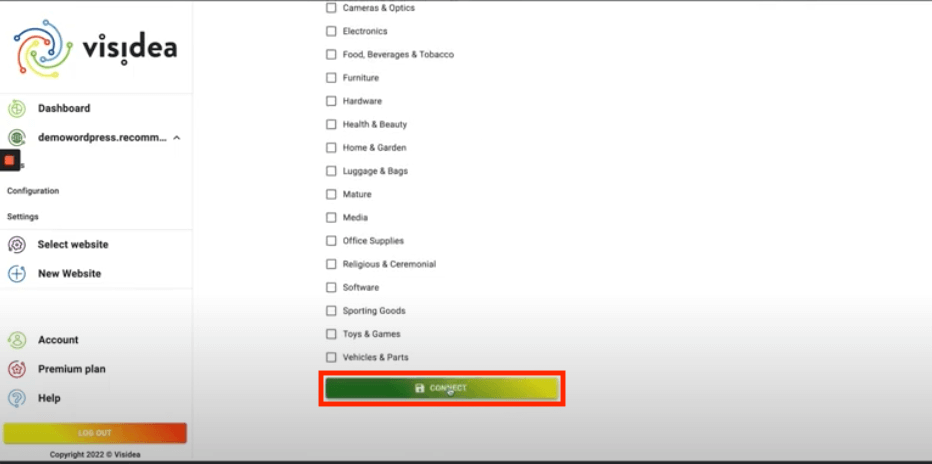
10. Creation Successfull! Click “GO TO DASHBOARD” to start using Visidea Plugin.
PS. Please wait for automatic updates to generate the recommendations. The time for generating recommendations depends on the size of your shop.
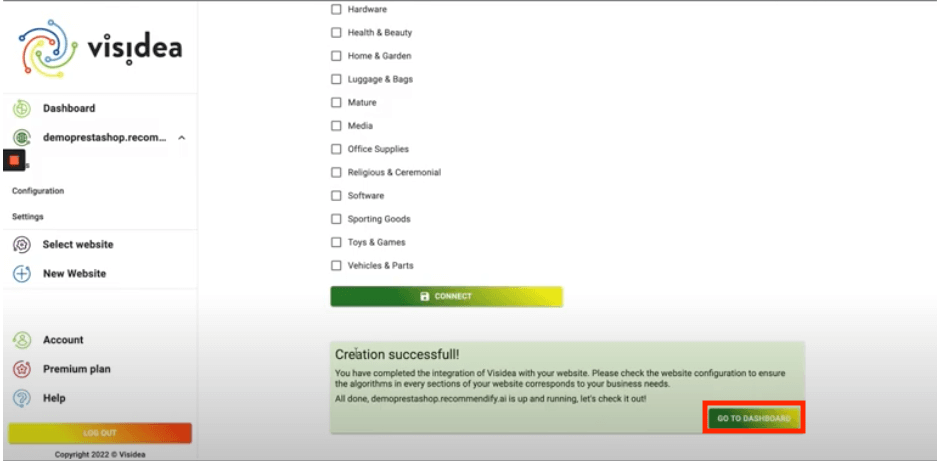
Congratulations, you have successfully completed the setup. Now you can start using our plugin to increase the value of your average cart and your sales.